
This article is the first thing that should be taught to someone when they want to enter the world of networking. If you did not know that it was a console cable “Console Cable” from now on IT Managers will not be able to live without it. I recommend taking one or two always in the bag … you never know when it will make you serve.
Here I present the protagonist: Cisco Console Cable.
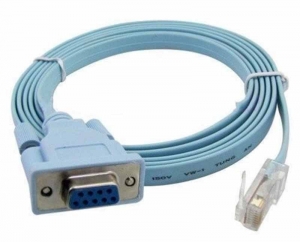
This one I show you is the typical and most famous Cisco console cable. If you do not have one, you just have to buy a Cisco or HP network device, they always give away one … they could do the same with the network cables. You already understand me
It works by other Cisco devices and also from other manufacturers such as HP switches.
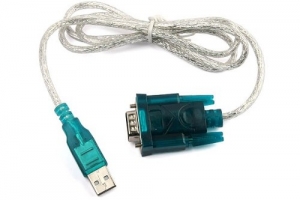
If you do not have a serial port on your laptop (surely you will not have it since you recently bought a super mega ultra slim), you should buy a serial adapter to USB. (The model that I have is this ATEN)
Once connected to the PC and installed the drivers, we can see that a COM X port has appeared to us, where X is the number that we will use later.
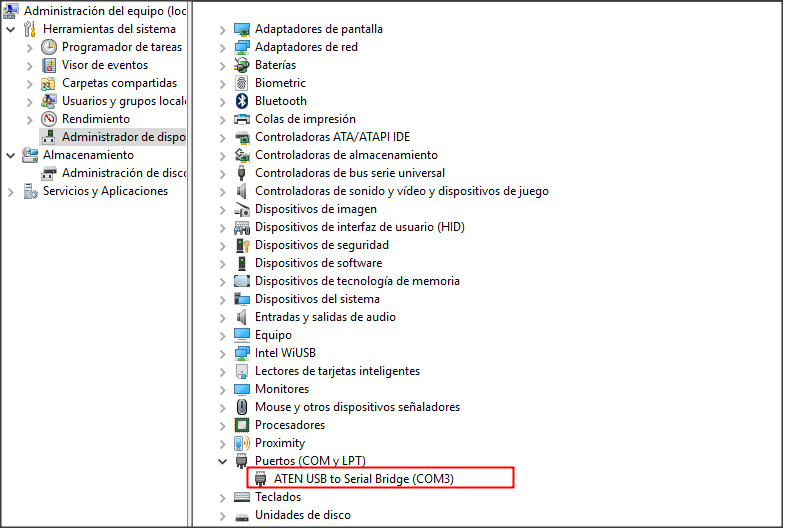
TIP: TRY TO CONNECT ALWAYS IN THE SAME USB PORT AS YOU SAVE THE PROFILE AT PUTTY
And most importantly, a device that allows us to connect to the Console. There are more of those who think !!
In our case, since we are in the world of networking, we will use a Router Cicsco 881.
Apart from Hardware, we will also need a program that allows us to open connections through the COM port. We can use the Putty or Hyperterminal of Windows itself.
I prefer the Putty, which I also use for Telnet and SSH connections.
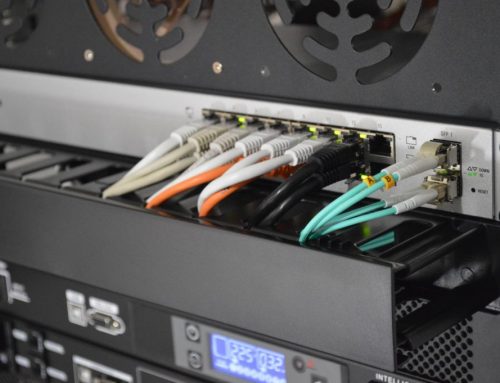
Connection of the console cable to the RJ45 port of the Cisco 881 router.
We connect the console cable to the router on the side of the RJ-45 connector to the console port of the Cisco 881 router. On Cisco devices this port is normally marked blue (As the color of the official Cisco console cable, what branding! !) …
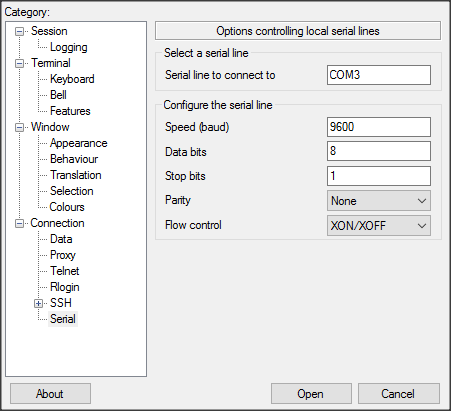
On the other hand, we connect the RS232 adapter to USB to the USB port of the PC and exits the Putty and configure it as shown in the image, noting that in our case the COM port we will use is 3.
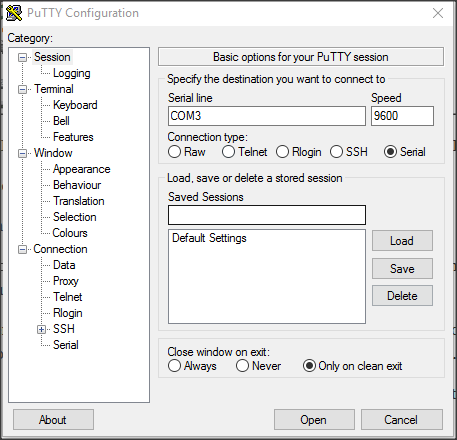
Normally with the default configuration of the Serial connection type, we already do enough for Cisco devices. Now, for other devices the manufacturer may tell us different parameters such as the speed of the connection Series (Speed 9600).
There are also more advanced parameters that can be found in the Serial menu on the right. (The manufacturer usually gives the values of these parameters in the Datasheet of the device).
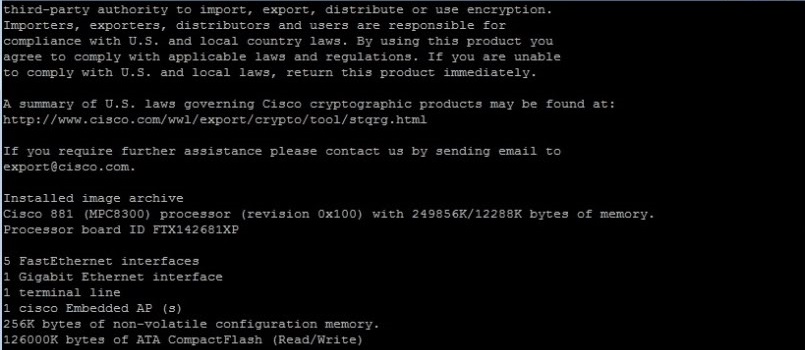
Once we open, we will open a black screen with the connection to our router and we can begin to configure it!
TIP: IF WE CLOSE THE ROUTER AFTER CONNECTING THE CONSOLIDATED CABLE, SEE AS LOAD THE BIOS AND OTHER MESSAGES THAT ARE NOT COME BY SSH OR TELNET. HERE ARE A FEW LINES…
Until the next article and remember … we see ourselves through the networks!


Leave A Comment